Video for Free Tier Account Setup
- Registration of your company with administrator email address which cannot be changed once registered.
- Integrate the default hotline chat room “GENERAL” and their corresponding “Click-To-Call” url link for text chat with your App Store / Website.
- Test the “Click-To-Call” url link.
Free Tier account setup
Free Tier Account Setup
Step 1: New Company Registration (Direct agent logon / registration link here)
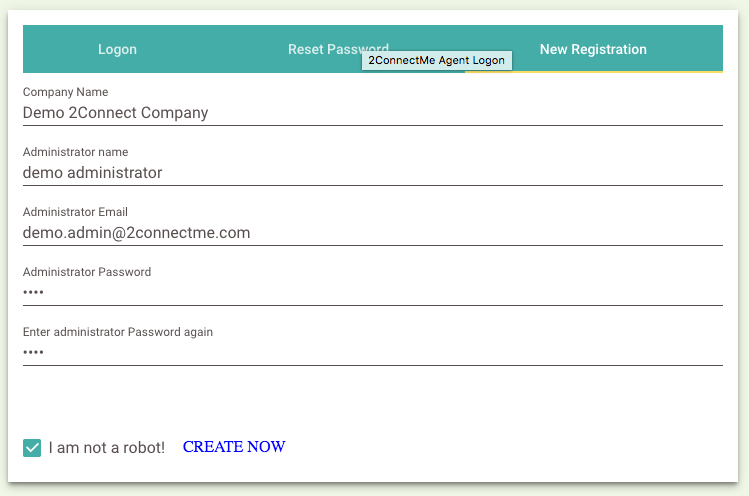
Step 1.1: Input your company information.
The key information is the email address to be registered. The email address will be used as administrator account to logon to 2ConnectMe. Please be alerted that once the email address is registered as administrator account, it cannot be changed later. Therefore, please be careful in selecting your email address for administrator account.
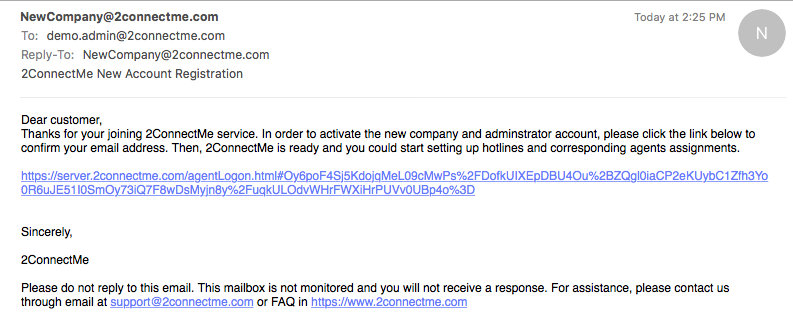
Step 1.2: Registered email address verification.
An validation email is sent to your registered email address. Just click to link to verify the address and it will divert you to agent logon screen.
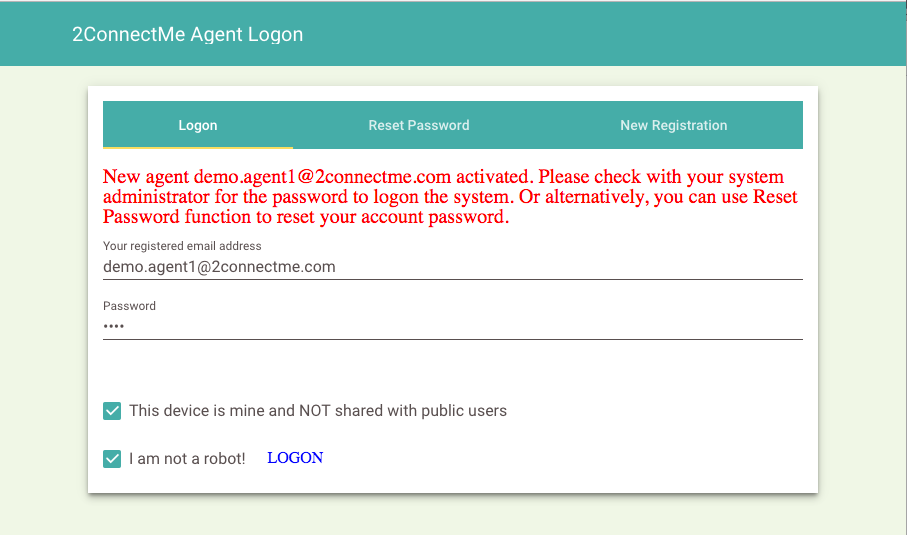
Step 1.3: Successful Company Activation.
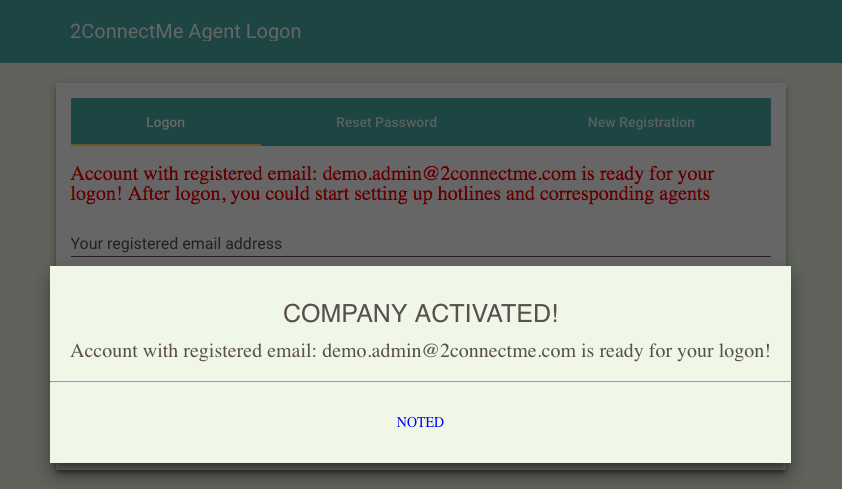
Step 1.4: First time administrator logon
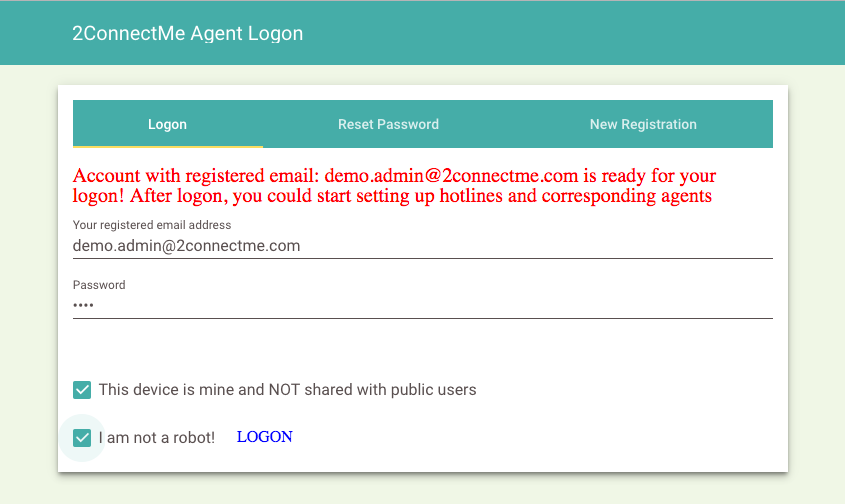
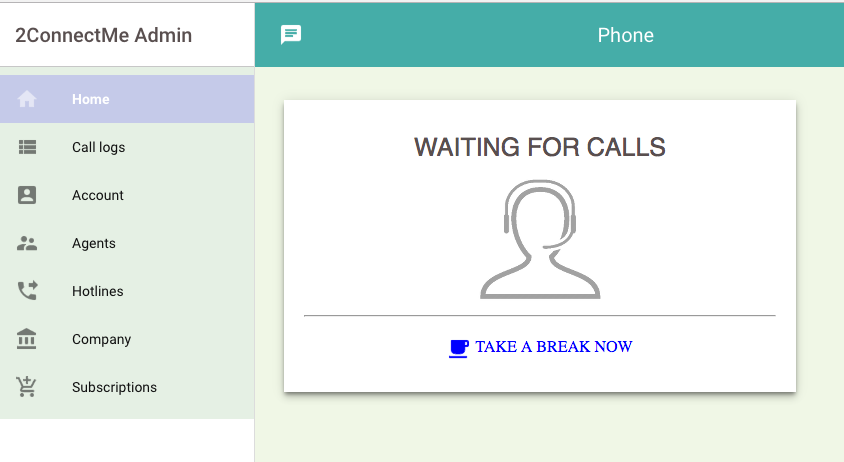
Step 1.5: Successful logon first time
Integrate Click-To-Call Url to your website
Step 2: Integrate your website with “Click-To-Call” url link of default hotline chat room “GENERAL”
The corresponding “Access Link” url link for type “Text chat only” is for “Click-To-Call” button. Just copy and past the link to your own “Click-To-Call” button on your website and descriptions of App Store.
Tips: In Apple App Store, it restricts users in clicking, even copy and paste, any Url link to divert to other websites. With that restriction, instead of direct paste Url link in Apple App Store, we should tell the location of Live Chat. Below is an example. (iWritingPad is an App from 2ConnectMe and available in Google Play and Apple App Store).
Live Chat Support: https://www.iwritingapd.com -> Contact us -> Live Chat

Step 3: Test & verification
- Use the registered administrator email address to logon 2ConnectMe
- Simulate customer call by copy and past the url link of “Text chat only” in the browser.
- You will see customer call is distributed to the administrator account.
New Agent setup
Step 2: Setup Agent
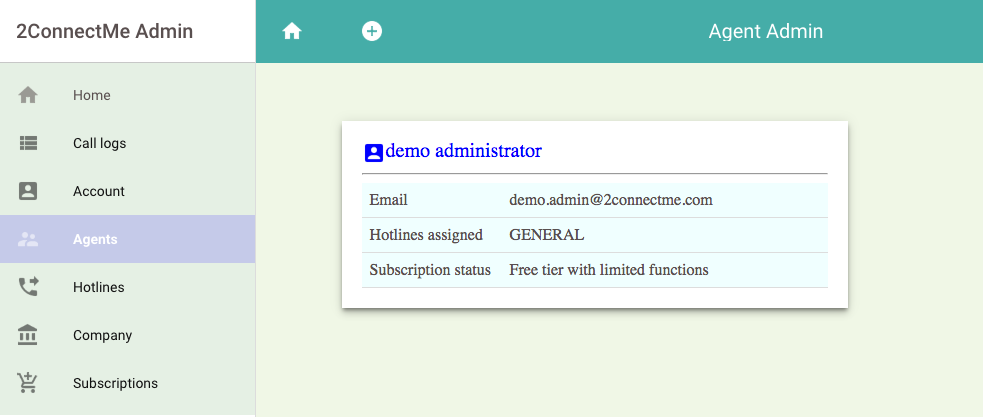
The free tier account already comes with “Administrator” account as agent account. Additional agent account will only be effective with membership subscription.
The following illustrate how to add a new staff (Agent) to handle the customer from different hotlines chat rooms.
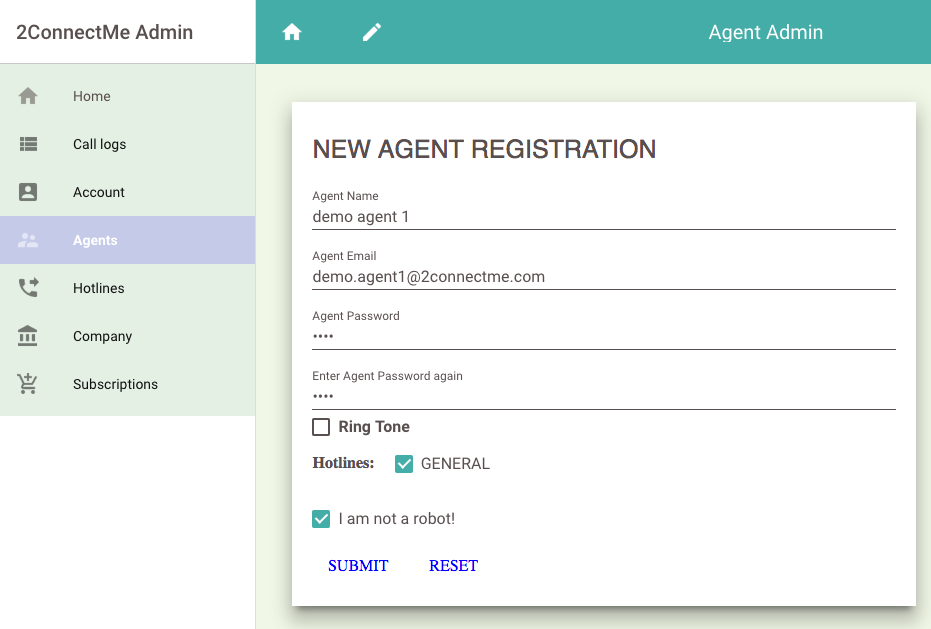
- Go to Agents menu
- Press “+” button
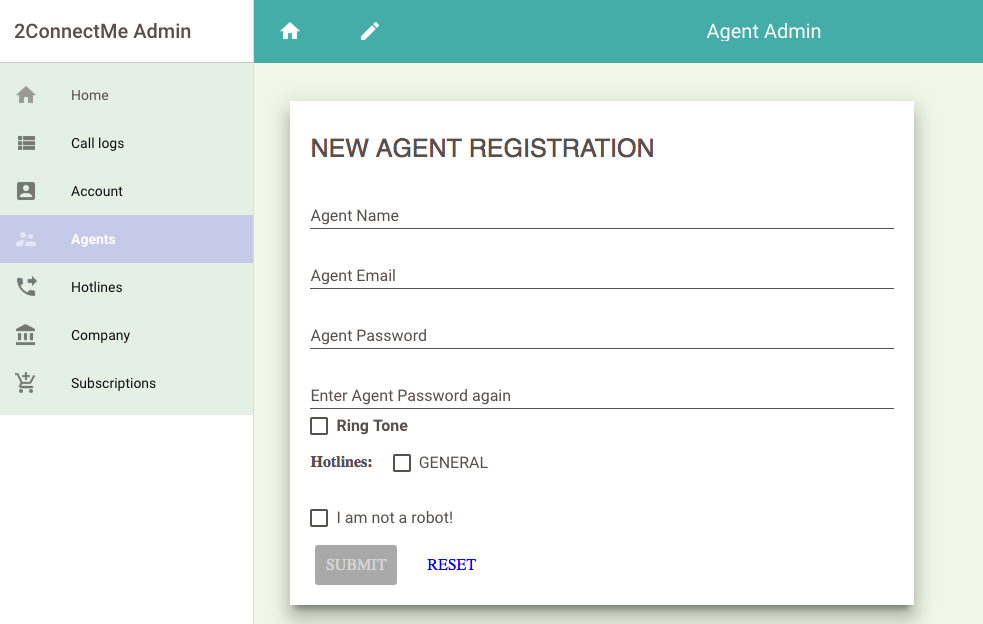
- Fill in the agent information and check the “Hotlines” which this new agent will handle.
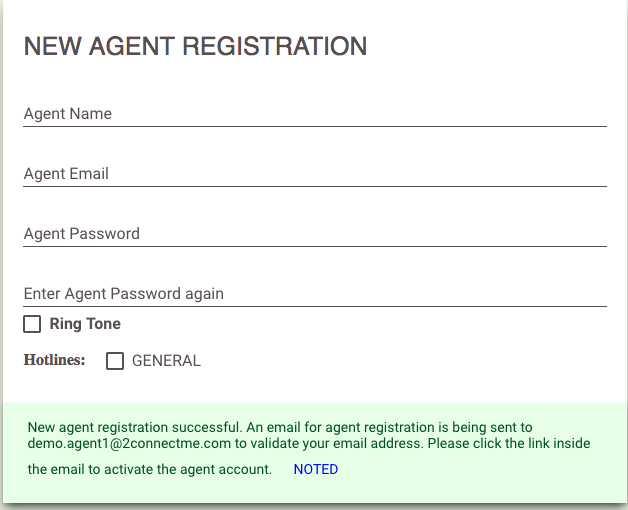
- Successful New Agent Registration.
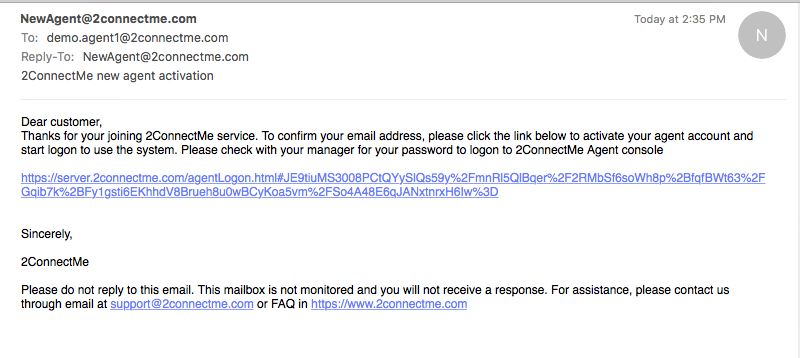
- Agent registered email address verification
- An validation email is sent to your registered email address. Just click to link to verify the address and it will divert you to agent logon screen.
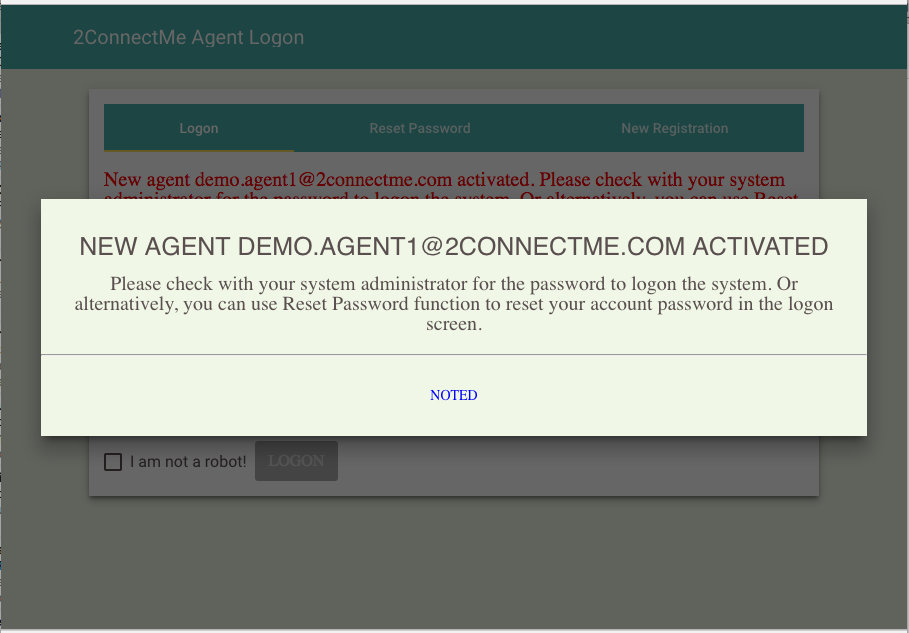
- Agent Logon Screen First Time
Integrate Click To Call Button
Step 3: Integrate your website with “Click-To-Call” url link of hotlines chat rooms
- Just copy and past the url link for different call type, “Text chat”, “Voice call”, “Video call” to put to your App Store / Website / Email where your customer will click to call. In addition, you should put these url link under your own customised button at your website.
- For free tier account, only “Text Chat” is supported. The “Voice call” and “Video call” and “Screen Sharing” are only supported after membership subscription.
Step 4: Verification of setup
- Using the registered email address (2ConnectMe administrator email account), logon 2ConnectMe as agent of your company.
- Just past the “Click-To-Call” url link to your browser.
- You should find the call will be connected to agent if there is logon agent. Or, if there is no agent logon, the customer call will be asked to leave message and 2ConnectMe will send this customer message to administrator email account.
Congratulation! That’s all. 2ConnectMe has started serving you 24 hours for free!
Contact Form Customisations

Advance User Setup Planning
Planning for advance users
- To plan the list of hotlines chat rooms you want customer to call, e.g. SERVICE, SALES, GENERAL.
- To plan the list of agent with which hotlines chat rooms he is going to handle. 2ConnectMe allows an agent handle multiple hotlines chat room.
- To plan the list of call types, i.e. text chat, voice call, video call for each of hotlines chat rooms.
- The voice call and video call are supported only in Google Chrome or Mozilla Firefox browser. Particularly, screen sharing is only supported in Chrome browser. If voice call, video call and sharing screen button are pressed by user on other browsers, i.e. Internet Explorer, Apple Safari, 2ConnectMe will prompt users to use Chrome or Firefox browser.
- Text Chat are supported in all browsers.
New Hotline Chat Room setup
Step 1: New Hotline Chat Room setup
- ( For the other new hotlines chat rooms other than default hotline “GENERAL”, you have to subscribe membership for them to become effective.) Normally, you may want the customer calls (hotlines chat rooms) divided into General, Service and Sales. Refer to the screen below for details.
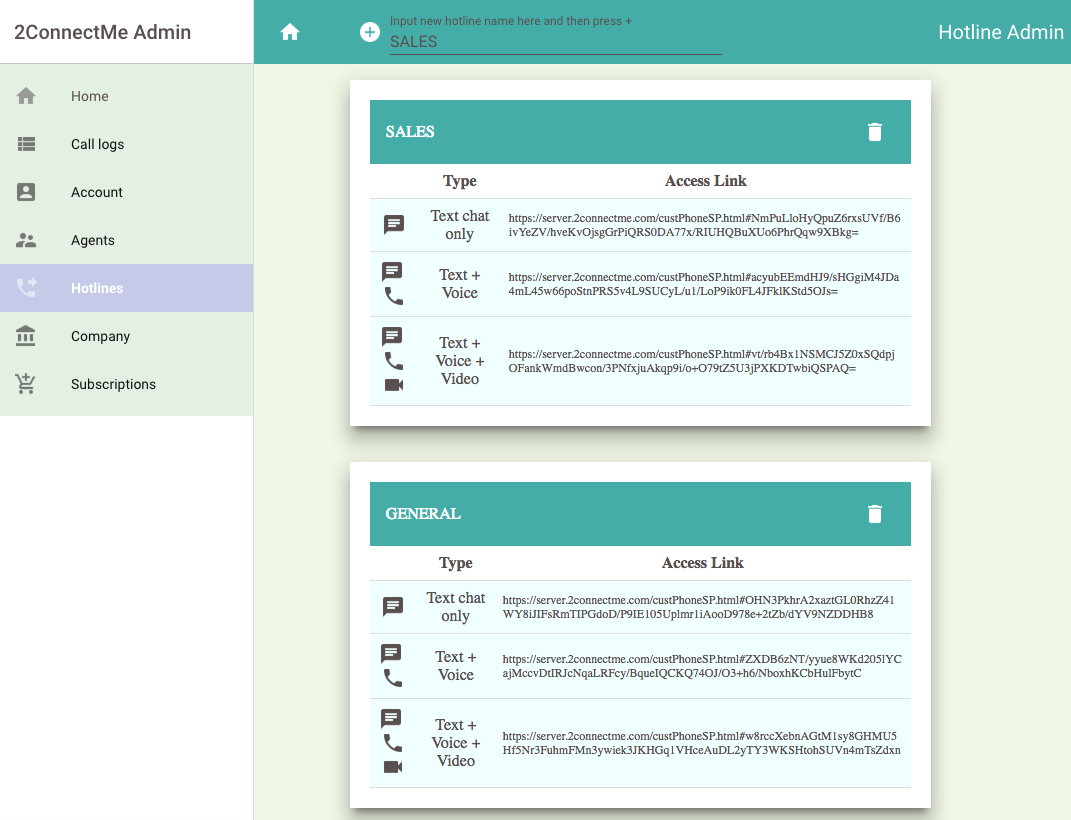
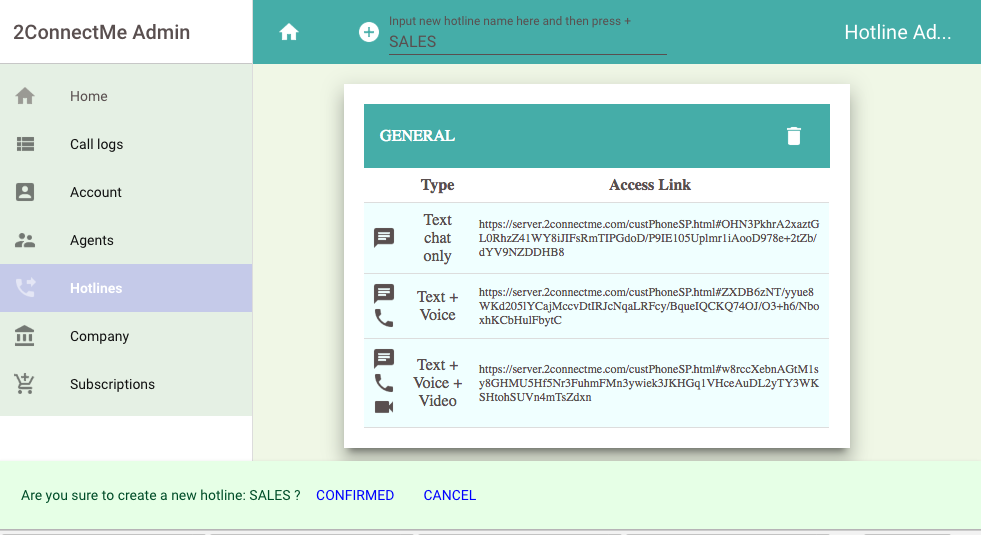
- Go to Hotlines
- Input Hotline name, e.g. “SALES”, press “+” button and press “Confirmed” to create hotlines
- Successful hotline creation
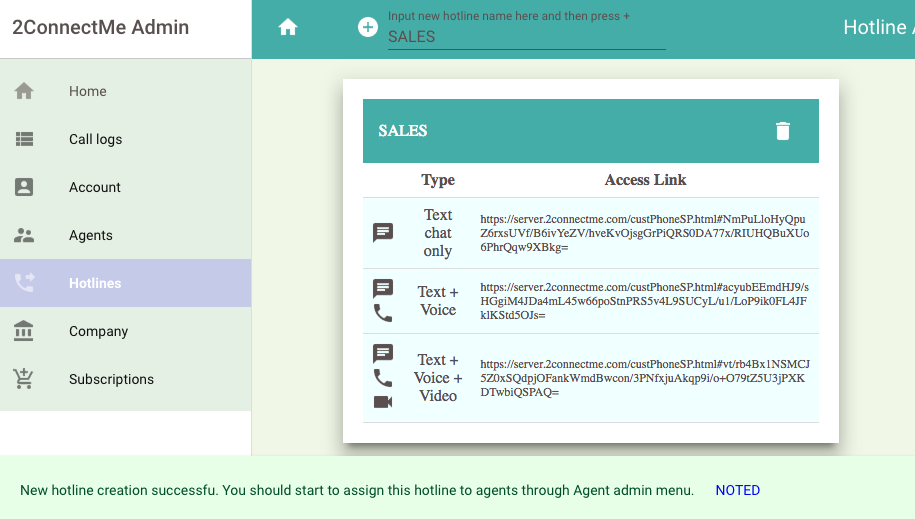
- You will see new hotlines “SALES”